System Requirements
Server Requirements
- PHP 8.2.0 or higher
- MySQL 5.7+ or MariaDB 10.2+
- Apache 2.4+ with mod_rewrite enabled
- openssl, pdo, pdo_mysql, mbstring, tokenizer, xml, ctype, json, curl
- Minimum 256MB memory limit
- At least 100MB free disk space
- Folder Permissions
For proper installation, caching, and logging, the following directories and files must be writable by the web server. In cPanel, this usually means setting permissions to 755 for directories and 644 for files, or in some cases 775/666 if required.
Path (cPanel/Linux)
public_html/toolboxr/storage
public_html/toolboxr/bootstrap/cache
public_html/toolboxr/.env
Browser Compatibility
- Google Chrome 50+
- Mozilla Firefox 45+
- Safari 10+
- Microsoft Edge 15+
- Opera 40+
- iOS Safari 10+
Setting Folder Permissions in cPanel
Follow these steps to ensure the necessary folders and files are writable for installation, caching, and logs:
- Login to cPanel.
- Go to File Manager.
- Navigate to your script directory (e.g.,
public_html/toolboxr). - Locate the folders/files listed below.
- Right-click the folder/file and select Change Permissions.
- Set permissions as follows:
- Folders (
storage,bootstrap/cache): 755 (or 775 if writable issues occur) .envfile: 644 (or 666 if writable issues occur temporarily during installation)
- Folders (
- Confirm changes.
.env file to 666, it is recommended to revert it back to 644 for security.
Checking PHP Version ( Optional )
To check your PHP version, create a file named phpinfo.php with the following content and upload it to your server:
Then access it via your browser (e.g., http://yourdomain.com/phpinfo.php). Look for the PHP version in the displayed information.
Installation Steps
Follow these 5 simple steps to install Toolsboxr Script on your server.
Download and Upload Files
Get the script files and upload to your server
After purchasing the script, download the installation package from CodeCanyon. Extract the ZIP file to your computer.
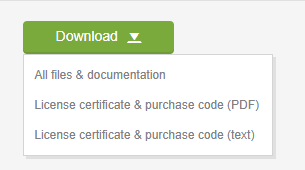
Download Instructions
- Log in to your CodeCanyon account
- Go to "Downloads" section
- Find "Toolsboxr Script" and click download
- Choose the latest version
- Save the ZIP file to your computer
Upload to Server
Use your hosting control panel's file manager to upload the zip file to your server's public directory (usually public_html or www).
Create Database
Set up a MySQL database for the script
You need to create a MySQL database for the script. This can be done via your hosting control panel (cPanel, Plesk, etc.) or using phpMyAdmin.
Using cPanel
- Log in to your cPanel account
- Find "MySQL Databases" icon and click it
- Create a new database (e.g.,
Toolsboxr_db) - Create a new database user with a strong password
- Add the user to the database with all privileges
- Note down the database name, username, and password
DB_HOST = "localhost"
DB_NAME = "Toolsboxr_db"
DB_USER = "Toolsboxr_user"
DB_PASS = "your_strong_password_here"
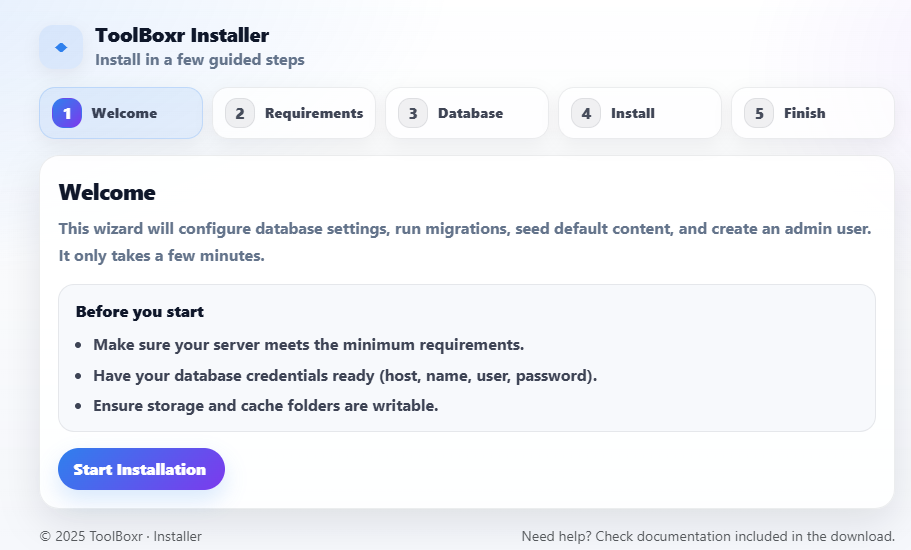
Run the Installer
Access the installer via your browser
Once files are uploaded and database is created, navigate to your domain in a web browser. The installer should automatically start.
Installation Process
- Go to
http://yourdomain.comorhttp://yourdomain.com/install - The system will check server requirements
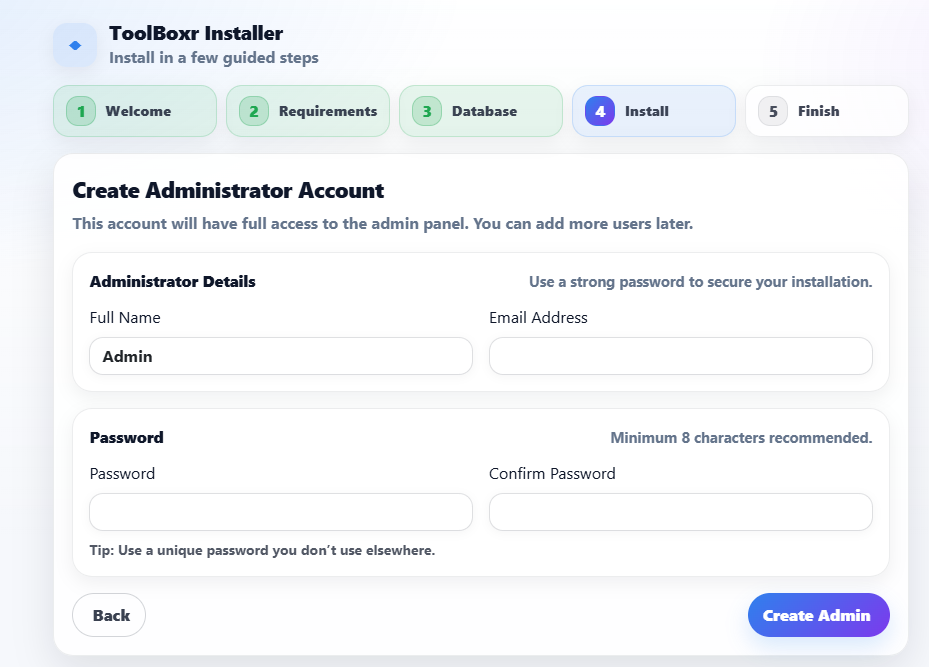
- Enter your database details when prompted
- Configure admin account credentials
- Complete the installation
Configuration & Final Setup
Configure your script and complete setup
After installation, you can access the admin panel to configure your website settings, add content, and customize the appearance.
- Site Settings: Update site title, description, and contact information
Admin Login Details
After installation, use these credentials to log in:
- URL:
http://yourdomain.com/login - Username: The admin username you set during installation
- Password: The admin password you set during installation
To access dashboard: http://yourdomain.com/admin
Troubleshooting
Common Issues
White screen after installation
Enable debug mode by editing config.php and setting DEBUG = true. Check error logs for specific issues.
Database connection error
Verify database credentials in config/database.php. Ensure MySQL server is running and user has proper permissions.
File upload errors
Check folder permissions (set to 755 for folders, 644 for files). Increase PHP upload limits in php.ini.
Useful Commands
If you have SSH access to your server, these commands might help:
chmod -R 755 /path/to/your/script
chmod -R 644 /path/to/your/script/*.php
# Check PHP version
php -v
# Check PHP modules
php -m | grep -E "curl|gd|mysql|openssl"
Support
If you encounter any issues not covered in this documentation, please contact our support team.
Before Contacting Support
- Check that your server meets all requirements
- Verify database credentials are correct
- Check error logs for specific error messages
- Ensure all files were uploaded completely
Live Chat
Available Monday-Friday, 9am-5pm EST